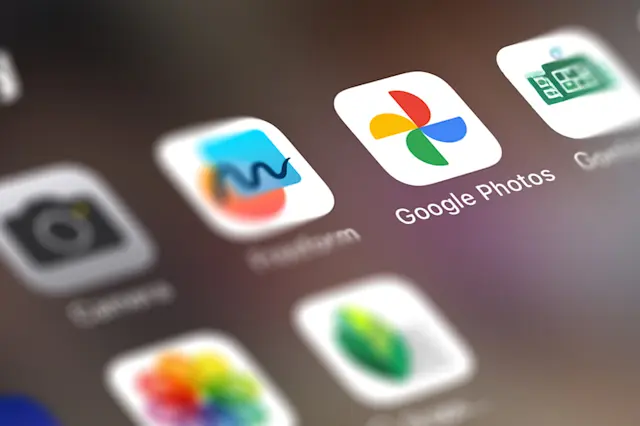
In the digital age, preserving your photos and videos is crucial, and Google Photos is one of the most reliable platforms for cloud storage. Whether you’re switching phones, freeing up space, or safeguarding your precious memories, migrating your media from Android to Google Photos can be seamless if done correctly. Here, we’ll explore the best practices to ensure a smooth and secure transition.
1. Ensure Your Google Account is Set Up Correctly
Before transferring any files, make sure you’re signed in to the correct Google account on your Android device. It’s crucial that the account you’re using has ample storage space in Google Photos, as it shares storage with Google Drive. You can check your storage status by visiting Settings > Google Account > Manage Your Google Account > Storage .
To keep everything organized and secure, make sure your account is synchronized properly. If you're using multiple accounts, double-check that the desired account is set up as the default one for Google Photos backup.
2. Backup Photos and Videos via Google Photos App
The simplest and most effective way to migrate your photos and videos is by using the Google Photos app. To begin:
- Download and open the Google Photos app from the Play Store if it isn’t already installed.
- In the app, tap on your profile picture at the top right and go to Google Photos settings > Backup & sync .
- Enable Backup & sync and choose the quality at which you'd like to back up your media: High Quality (free but compressed) or Original Quality (full resolution, but consumes your Google storage quota).
Once enabled, the app will begin uploading your photos and videos to Google Photos automatically. This method is convenient and allows you to continue using your phone while the backup runs in the background. Ensure you're connected to a stable Wi-Fi network to avoid using mobile data.
3. Organize and Filter Files Before Upload
Rather than uploading every single photo and video, take the time to clean up your gallery. Delete any duplicates, blurry shots, or unnecessary screenshots before starting the migration process. Organizing your files not only saves space but also ensures that Google Photos remains neat and easy to navigate.
Additionally, you can use folders within Google Photos to organize your media. Creating separate albums for vacations, events, or family gatherings can help you find specific photos quickly, even after migrating thousands of images.
4. Free Up Space on Your Device After Upload
One of the significant benefits of using Google Photos is the ability to free up storage on your Android device. After the migration is complete, Google Photos allows you to delete the photos and videos stored locally on your phone by choosing the *Free Up Space* option in the app. This feature removes files already backed up to the cloud, providing more room on your device without the risk of losing your media.
To do this, go to Google Photos > Settings > Free up space , and the app will display how many items can be removed.

5. Backup Over Wi-Fi and Charge Your Phone
Backing up a large number of photos and videos can be a lengthy process, especially if you have thousands of files. To avoid unnecessary interruptions or data charges, ensure that you're connected to a strong and stable Wi-Fi network before starting the upload process.
It’s also a good idea to keep your phone plugged in during the backup to prevent the battery from draining. The process could take several hours or even days, depending on the size of your media library, so keeping your device charged and connected is essential.
6. Use Google One for Additional Storage
If your photo and video library is too large for the free 15GB storage that comes with Google Photos, consider upgrading to Google One. Google One offers paid storage plans starting at 100GB, which is perfect if you have high-resolution images and videos that exceed your free quota.
Additionally, Google One offers other benefits like family sharing, access to Google experts, and occasional special offers.
7. Verify Backup and Sync Across Devices
Once your files are uploaded, it’s crucial to verify that everything has been properly backed up. Open Google Photos on a different device or your computer and check that all photos and videos are available and correctly organized. You can access Google Photos from any device by visiting photos.google.com or using the Google Photos app on another phone or tablet.
Ensuring that everything is properly synced guarantees that you won’t accidentally lose your files during the migration process.
8. Keep Your Google Photos Organized Post-Migration
After your migration is complete, it's a good practice to regularly organize your Google Photos library. Take advantage of features like Albums, Face Recognition, and Location Tags to make finding specific memories easier. Additionally, consider periodically deleting unwanted photos to keep your storage usage in check and your library clutter-free.
Migrating your photos and videos from an Android device to Google Photos doesn’t have to be a daunting task. By following these best practices—ensuring proper account setup, cleaning up your media before uploading, using reliable Wi-Fi, and verifying backups—you can secure your media and free up space on your device. Google Photos not only offers an easy way to back up your memories but also provides tools to keep them organized and accessible from anywhere.


